I was inspired after my creative chemistry class and I saw this "never used" stamp on my stamp wall and grabbed it and started stamping. I made the first image and there was still quite a lot of ink left so I made two more images with one inking. I did spray them with a mist of water between.
As you can see the images become lighter but I really like the effect. You can still really see the image. Next here are the three cards I made with each image from light to dark.
I don't know which one is my favorite. I tried to keep it simple so the image would take center stage.
Friday, March 23, 2012
Popsicle Cards
I saw this idea on-line, unfortunately when I downloaded the picture of the card for reference there was no name attached. I really like to give credit where it is due but I don't know who to give the credit to! Darn! Anyhow here are my popsicle cards made with the SU key tag punch and the word window punch. I started with the green but I like the "fudgesicles" much better.
I took a "bite" out of the fudgesicle with my scallop punch. |
Wednesday, March 21, 2012
Distress Ink class
This was really fun. I have had my Distress Inks for a long time and used them occasionally. These techniques are great. I think I will use these inks more often now. Making these could be addictive!
The next technique was watercolor stamping. I have does this before but this time I used watercolor paper as recommended instead of cardstock and I am much happier with the results.
Last technique we layered colors on a tag. No splashing water on the tag this time. Pure color. My colors are slightly muddy....I will have to try again!
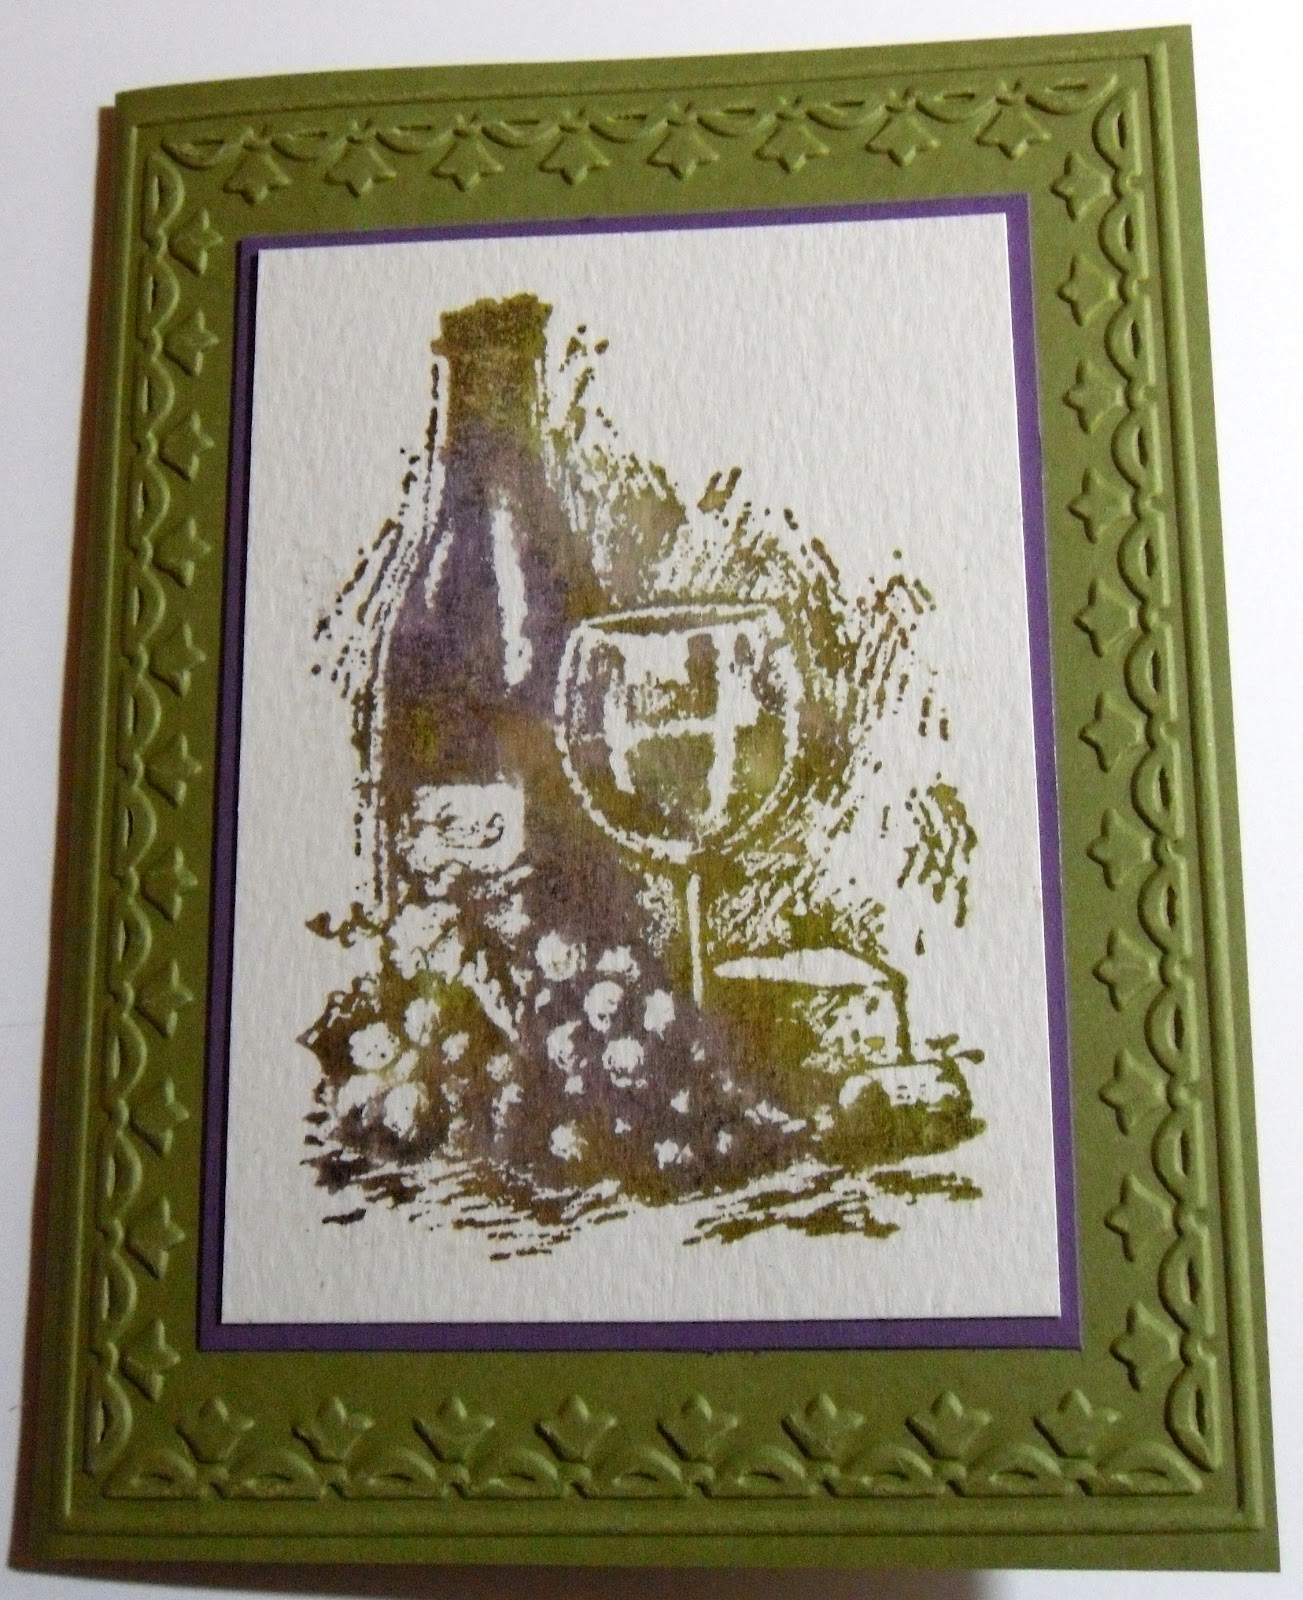
This is a splatter technique ( I can't recall what it is officially called). Layered inks with a water application. |
Tim said in class it had sort of a bleach effect and I agree. |
This took on a sort of "Fall" look. Not on purpose. I think I will try it again with more spring/summer colors. I cut my own tag to mount it on as the manila was too light. |
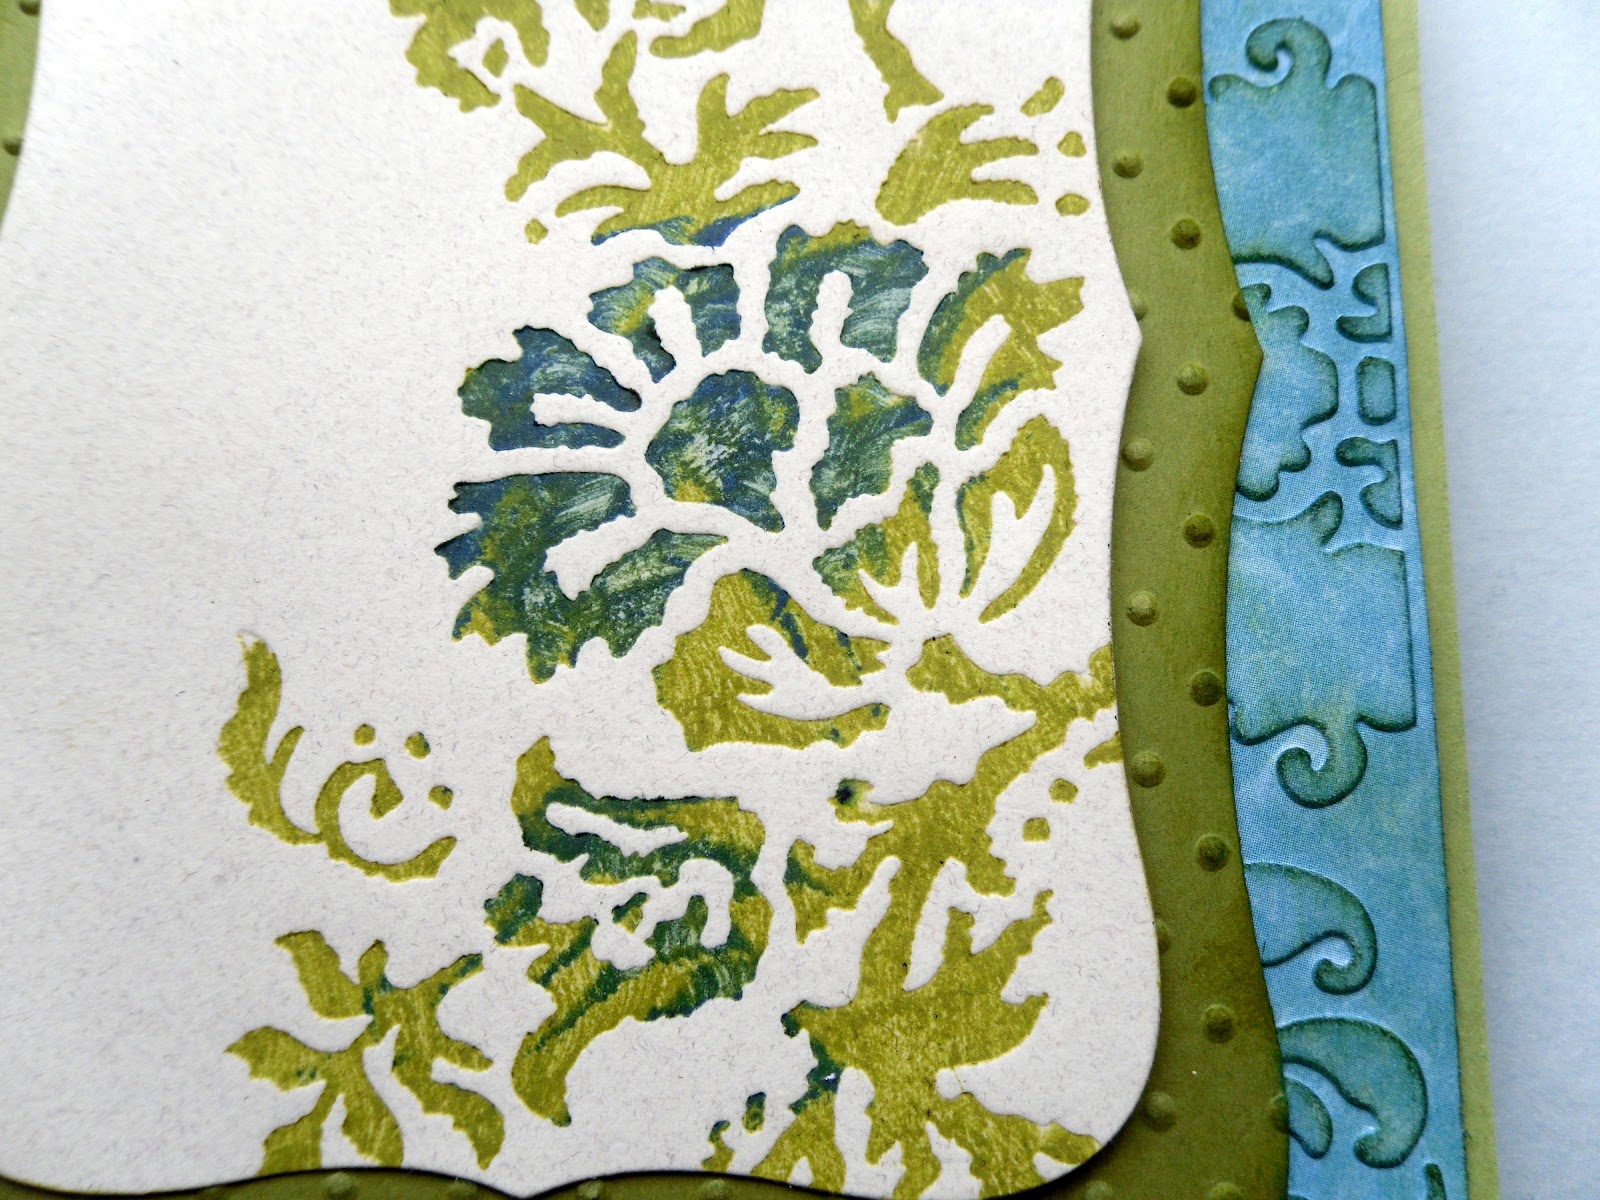
In this close up you see layer upon layer of color. Very different from the "bleached" look |
Slightly muddy on the bottom...I like the upper portion much better. |
Tim Holtz Creative Chemistry 101
I was so excited to find this on-line class given by Tim Holtz. There are 11 classes all about different techniques. It includes a PDF every day if you are like me and need a printed instruction. All for $35.00. I think that is a great deal. My goal was to use my HUGE stash of Tim Holtz/Ranger products and not buy anything new (we will see). In the first classes Tim used a foam pad with the applicator handle and all I had was felt for the alcohol inks....well I came up with an idea (didn't buy a thing) !!
I remembered I had a big sheet of foam from Ranger. I cut a piece the sized of the applicator. |
Then I put velcro on the foam backing with pink tape |
and VIOLA...I could now experiment with the new techniques in the class. |
Saturday, March 17, 2012
Storage Idea for Spellbinders
I store my spellbinder dies in cassette cases however the larger, longer dies don't fit. I looked at the Stampin Up! storage cases for the unmounted stamps and they fit perfectly. Love to organize!
I put self-sticking magnet strips that comes in a huge roll to hold the dies in place. I use this with the CD cases too. |
I like to put the label from the original packaging cut from the largest die on the front inside panel. |
Sunday, March 4, 2012
Embossing Folder Card
I have always liked this embossing folder however I never knew what to use it for....till now. I saw this sample on Ebay. Someone was using the example to sell the embossing folder. Unfortunately I can't give credit as I don't know who the person is....so thank you!!
This really makes more of an impact in person |
Close up of the embossing. The lines between the layers look uneven but it is just the angle. You know me....must be even...straight etc. LOL |
Letterpress Card
Close up of the letterpress and new embossing folder on the bottom |
This is on the inside of the card. Originally I was going to put it on the outside but it was too big. |
Subscribe to:
Posts (Atom)