Saturday, March 31, 2012

N is for Nostalgia

I am behind on this swap.  I still need to finish my  P for postage and just finished my O for outdoors.  I really like vintage....retro....nostalgia.


Mine is in the middle....I already posted an individual picture a while back

Sunny

Jerri

Gretchen

Deb

Cat Photo

Cloe always keeps me company in the stamp room. I always know where she is sleeping if I can't find her. Maybe she has a good idea......if I sleep in the stamp room I can start playing as soon as I wake up!  LOL

Back to Tim Holtz

Sunny and I had a wonderful stamping afternoon and evening. We are continuing the 12 tags of Tim Holtz for December but we are also doing his new monthly tag. 

We used a old SU background stamp. The stitching is an embossing folder. We colored the pearls with alcohol ink.

How cute is the chocolate bunny from SU (I think it is retired though). The bottom of the tag is from an old scrapbooking garden set.  We used copywrite free vintage images for the tag in the back. 

Very Different Card

This is very different from the techniques I have posted lately.  I got this idea from Creations on Paper. You can find her blog here:  http://creationsonpaper.blogspot.com/  She is very talented and does some beautiful and darling punch art and much more. She is on my favorite blog list for sure!

I used the SU cupcake punch and the Inkadinkado clear cupcake set.

This is the inside.

Sunday, March 25, 2012

Resist Background

This was a really cool technique. I didn't have archival ink from Ranger so I used Fiesta reinkers which worked great.  It took several tries to get this right.  I used several different colors and stamps before I was happy with the results.  My husband wanted a card made with the same technique....


The last technique of the day used embossing folders. I didn't have the correct folder and my alternatives didn't work.  By this time I was tired of playing so I will revisit it another time.  What a fun class so far!! Still one more week!

Alcohol Inks

I have always loved alcohol inks.  In class I learned quite a few new facts about them. Here is my tag for the class.

The map on the side is a stamp I have never used.  The palm is an old SU set.  I didn't have any mixative for the alcohol inks so I used Tsukineko metallic ink. Previously I had trouble getting these to dry however I found if I layered more alcohol ink on top and heat set they were perfectly dry.

New Notebook

I couldn't just put my Creative Chemistry class info. in a plain jane notebook.  That would never do!

I took one of the logos and distressed it ( of course), then stamped a few Tim Holtz stamps on the front.  I did use some sparkle spray from Tattered Angels for the background.

Friday, March 23, 2012

Watercolor Stamping

I was inspired after my creative chemistry class and I saw this "never used" stamp on my stamp wall and grabbed it and started stamping.  I made the first image and there was still quite a lot of ink left so I made two more images with one inking. I did spray them with a mist of water between.


As you can see the images become lighter but I really like the effect. You can still really see the image.  Next here are the three cards I made with each image from light to dark.


I don't know which one is my favorite. I tried to keep it simple so the image would take center stage.

Popsicle Cards

I saw this idea on-line, unfortunately when I downloaded the picture of the card for reference there was no name attached.  I really like to give credit where it is due but I don't know who to give the credit to! Darn! Anyhow here are my popsicle cards made with the SU key tag punch and the word window punch.  I started with the green but I like the "fudgesicles" much better.


I took a "bite" out of the fudgesicle with my scallop punch.

Wednesday, March 21, 2012

Distress Ink class

This was really fun. I have had my Distress Inks for a long time and used them occasionally.  These techniques are great.  I think I will use these inks more often now.  Making these could be addictive!

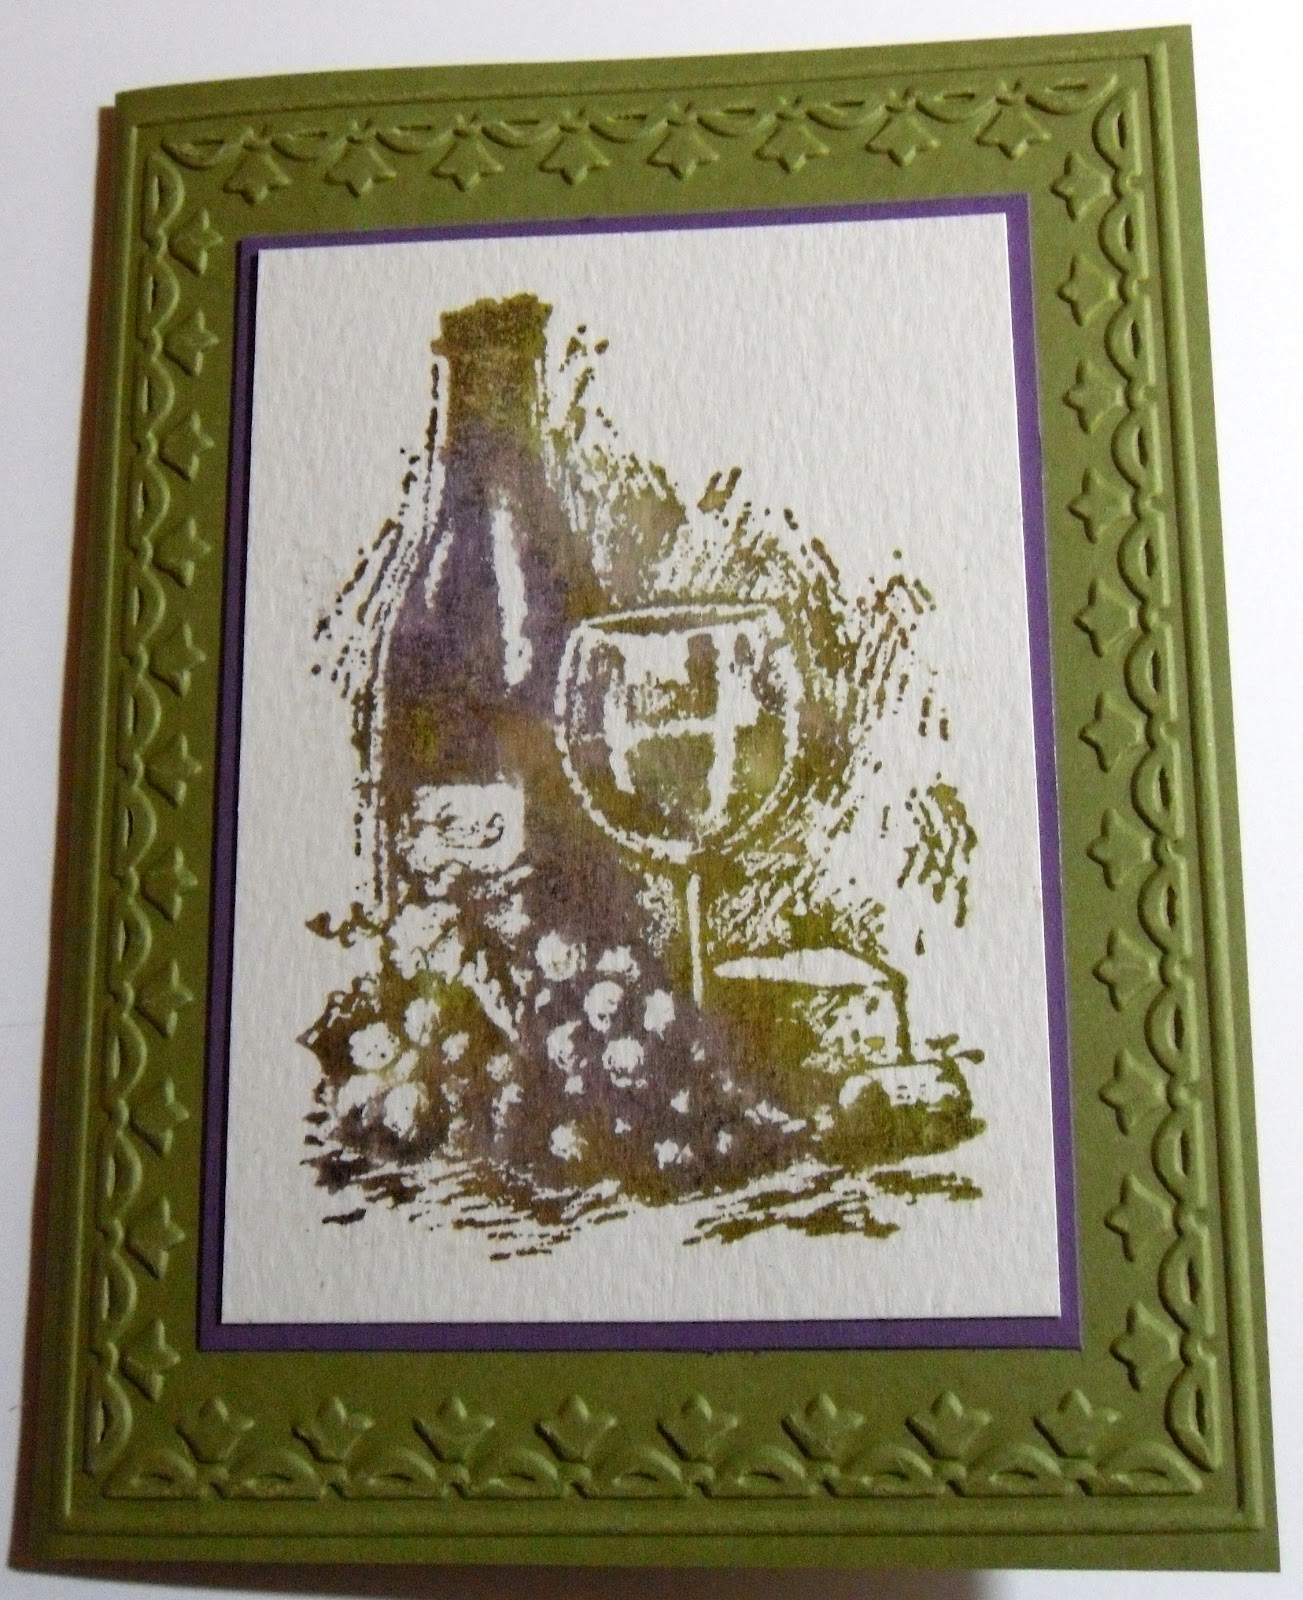
This is a splatter technique ( I can't recall what it is officially called). Layered inks with a water  application.

Tim said in class it had sort of a bleach effect and I agree.

The next technique was watercolor stamping. I have does this before but this time I used watercolor paper as recommended instead of cardstock and I am much happier with the results.

This took on a sort of  "Fall" look. Not on purpose.  I think I will try it again with  more  spring/summer colors. I cut my own tag to mount it on as the manila was too light.

Last technique we layered colors on a tag. No splashing water on the tag this time. Pure color. My colors are slightly muddy....I will have to try again!

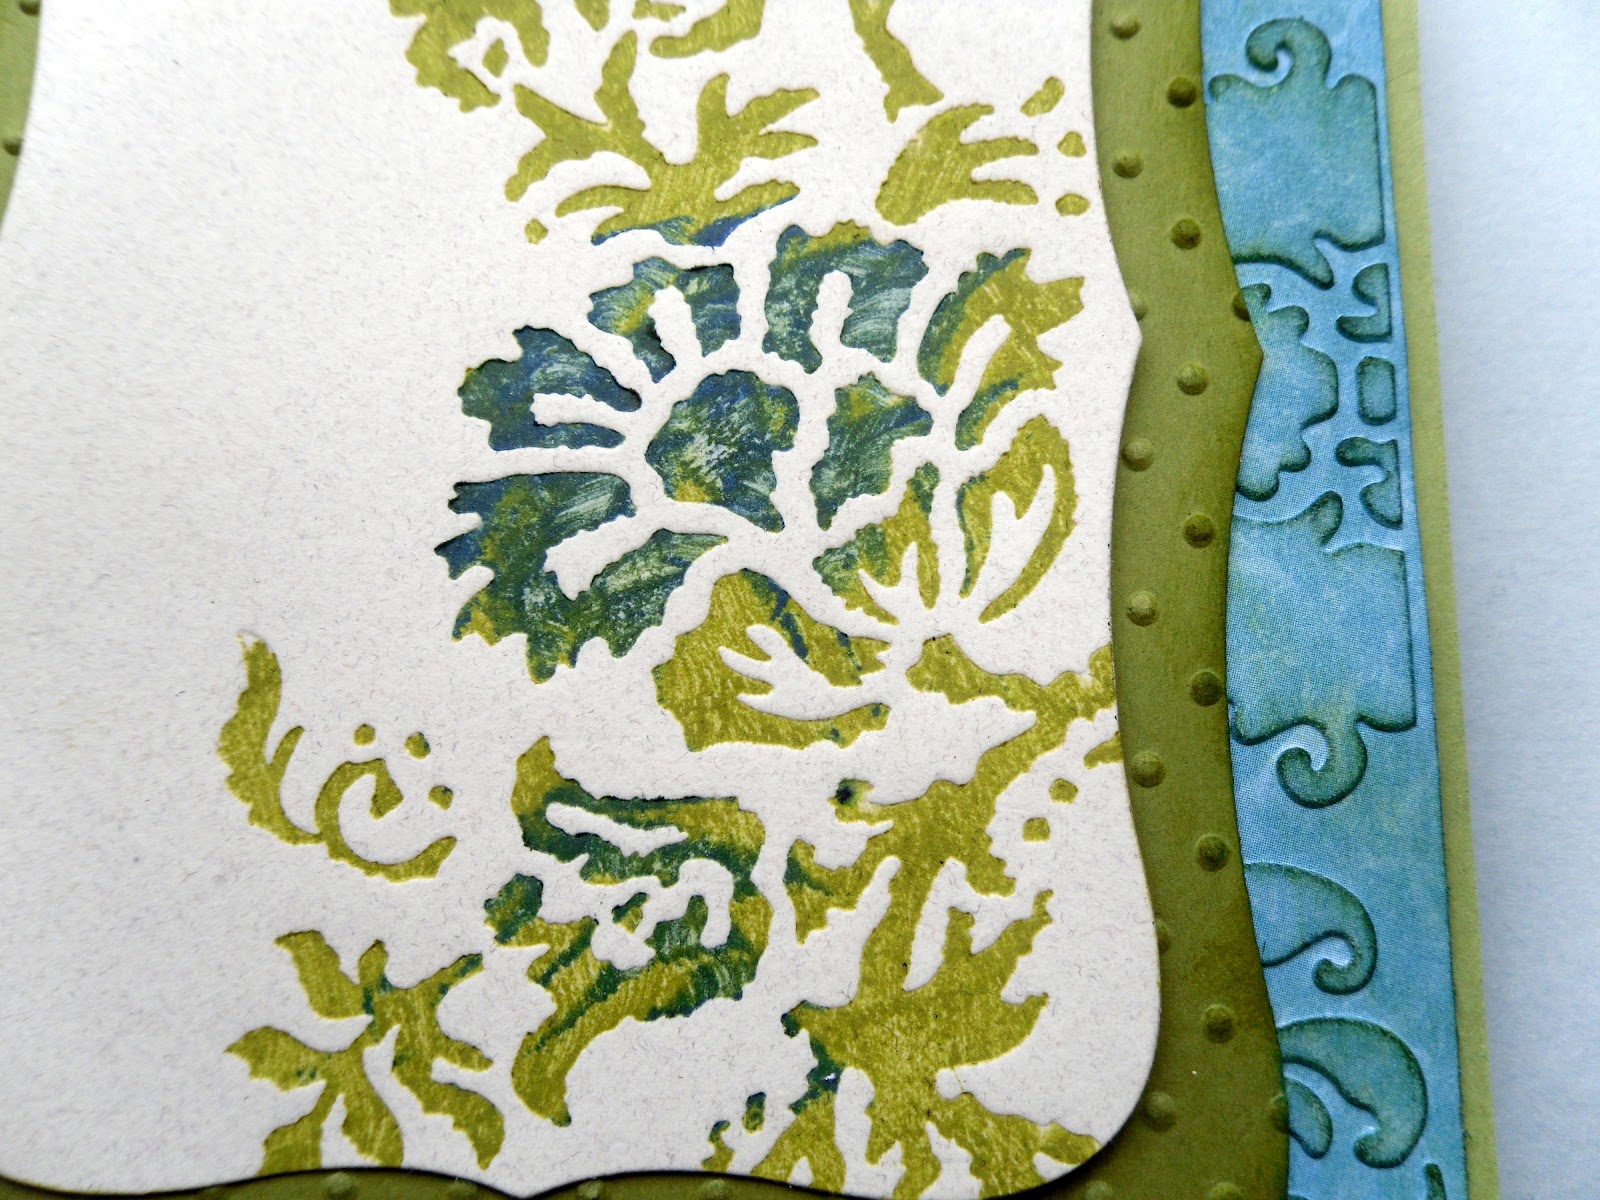
In this close up you see layer upon layer of color. Very different from the  "bleached" look

Slightly muddy on the bottom...I like the upper portion much better.

Tim Holtz Creative Chemistry 101

I was so excited to find this on-line class given by Tim Holtz.  There are 11 classes all about different techniques. It includes a PDF every day if you are like me and need a printed instruction. All for $35.00. I think that is a great deal. My goal was to use my HUGE stash of Tim Holtz/Ranger products and not buy anything new (we will see). In the first classes Tim used a foam pad with the applicator handle and all I had was felt for the alcohol inks....well I came up with an idea (didn't buy a thing) !!

I remembered I had a big sheet of foam from Ranger. I cut a piece the sized of the applicator.

Then I put velcro on the foam backing with pink tape

and VIOLA...I could now experiment with the new techniques in the class.

Saturday, March 17, 2012

Storage Idea for Spellbinders

I store my spellbinder dies in cassette cases however the larger, longer dies don't fit.  I looked at the Stampin Up! storage cases for the unmounted stamps and they fit perfectly.  Love to organize!

I put self-sticking magnet strips that comes in a huge roll to hold the dies in place. I use this with the CD cases too.

I like to put the label from the original packaging cut from the largest die on the front  inside panel.

Sunday, March 4, 2012

Embossing Folder Card

I have always liked this embossing folder however I never knew what to use it for....till now. I saw this sample on Ebay. Someone was using the example to sell the embossing folder. Unfortunately I can't give credit as I don't know who the person is....so thank you!!

This really makes more of an impact in person

Close up of the embossing. The lines between the layers look uneven but it is just the angle.  You know me....must be even...straight etc. LOL

Letterpress Card


Close up of the letterpress and new embossing folder on the bottom

This is on the inside of the card. Originally I was going to put it on the outside but it was too big.
I bought this letter press from sizzix quite some time ago and I was digging through stuff and thought I would try it.  This is only a portion of the entire image.  Occasionally things just come together of their own accord...unfortunately this was not one of them. The corner needed something and the embellishment was what I settled on. I really wanted a small saying or quote but the space was too small.